Hello Blink!
As with all new programming classes there is a Hello World but we are in the world of hardware now so it is a little different. In the world of Arduino we will blink an LED.
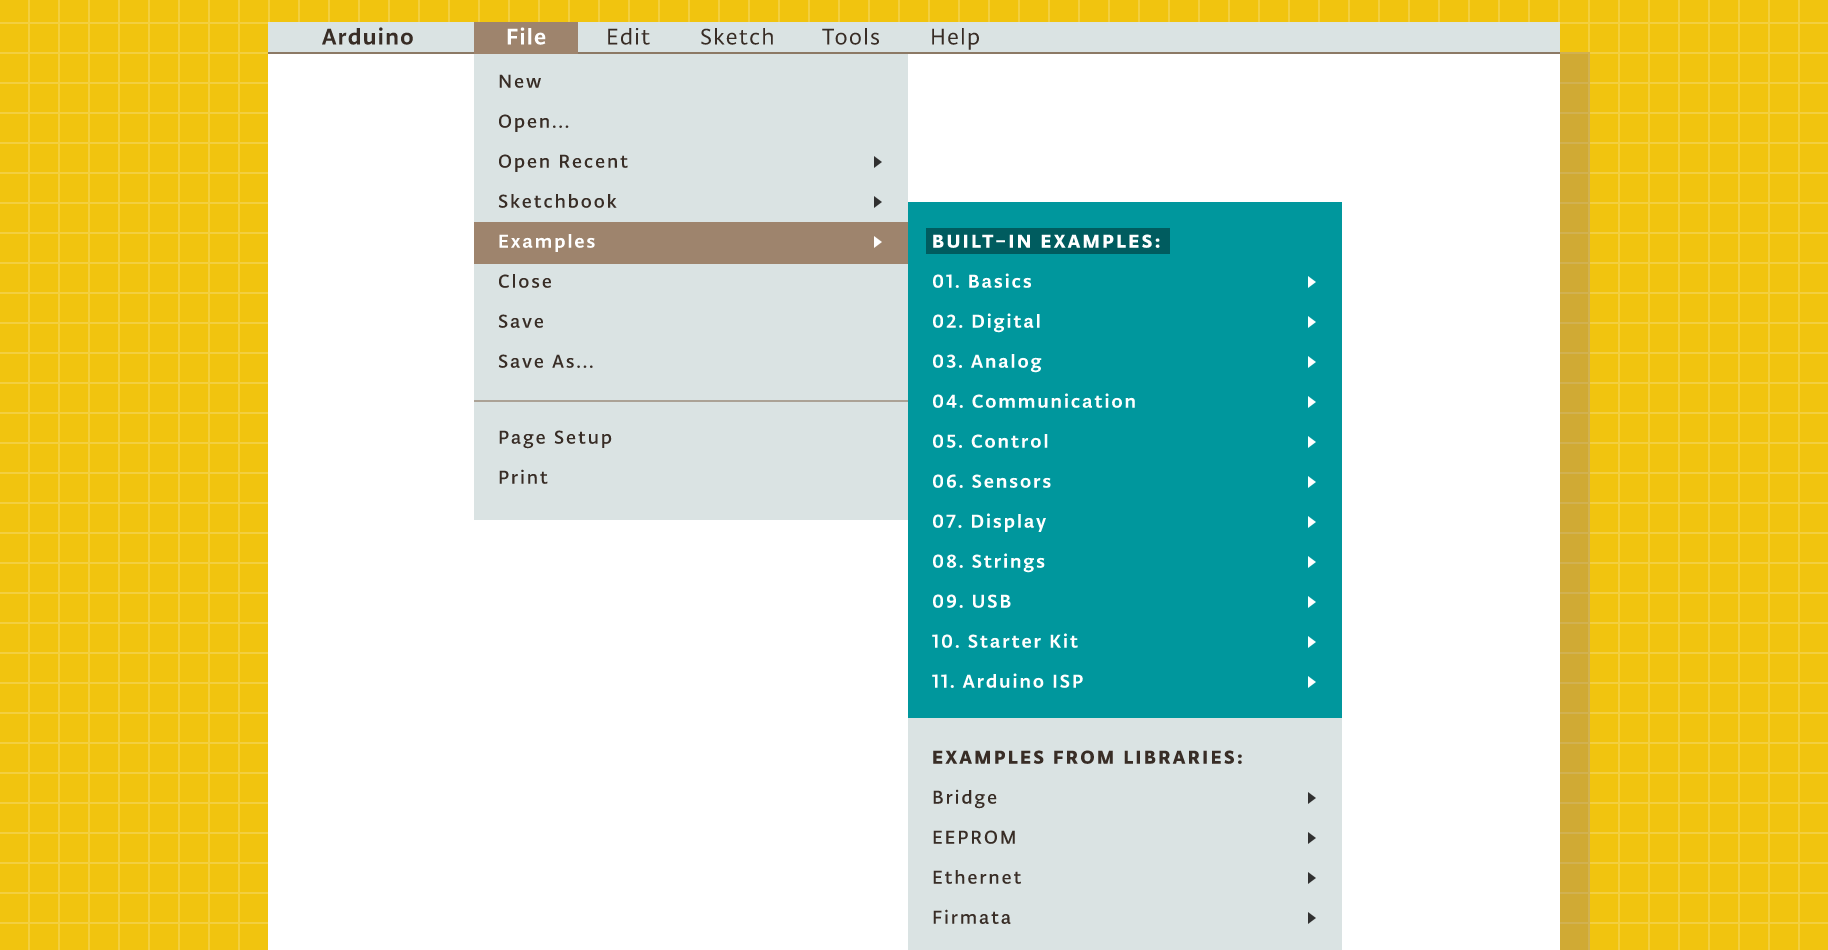
To get started fire up the Arduino IDE (you can use the cloud but we will use the IDE in these labs) and go to the blink example.
Now lets look at the code.
// the setup function runs once when you press reset or power the board
void setup() {
  // initialize digital pin 13 as an output.
  pinMode(13, OUTPUT);
}

// the loop function runs over and over again forever
void loop() {
  digitalWrite(13, HIGH);   // turn the LED on (HIGH is the voltage level)
  delay(1000);              // wait for a second
  digitalWrite(13, LOW);    // turn the LED off by making the voltage LOW
  delay(1000);              // wait for a second
}
Code
If you look you will see only two functions in the example. In fact all Arduino programs will have these.
void setup()
First is the setup function.
void setup(){
}
This is like the main method in C and Java. It is ran one time when the board starts up. It returns nothing because it never returns.
void loop()
We then come to the loop function.
void loop(){
}
This function runs right after the setup function completes all of its code. The loop function is unique in two ways. Firstly it does not return either. Secondly it does just as it says, it loop over and over again. Think of it as a never ending while loop.
while(true){
}
The main idea behind all Arduino programs is the setup the program then run some code over and over again.
Control Methods
Now lets look back at the Blink code.
void setup() {
  // initialize digital pin 13 as an output.
  pinMode(13, OUTPUT);
}
In this setup we will need to tell the Arduino what to do with its hardware. In this instance we want to set the 13th pin to be an output pin. This means on the Digital side of the board the 13th pin can output electrical signals but not read them. For the Arduino 101 pin 13 is also a built in LED.
Now that the pin is set to be an output we can make it do something.
void loop() {
  digitalWrite(13, HIGH);   // turn the LED on (HIGH is the voltage level)
  delay(1000);              // wait for a second
  digitalWrite(13, LOW);    // turn the LED off by making the voltage LOW
  delay(1000);              // wait for a second
}
We have two methods here that are doing all the work
digitalWrite(); and delay();.
digitalWrite();
Is the Arduino method used to turn on an off a pin. In the case of the first line we are taking pin 13 and "pulling" it high. This is engineering language for turning it on.
delay(); This line is does just as it sounds, delays the processor for some number of milliseconds. When this is used the entire processor is stopped from changing any state of the system such as pulling a pin high or low.